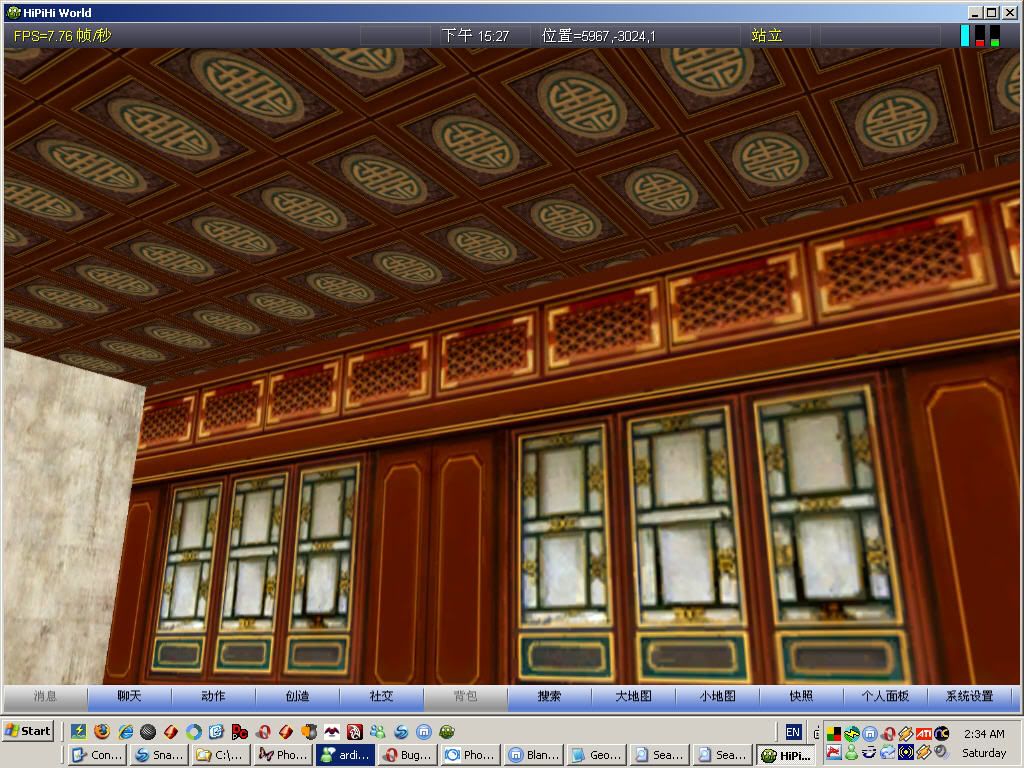
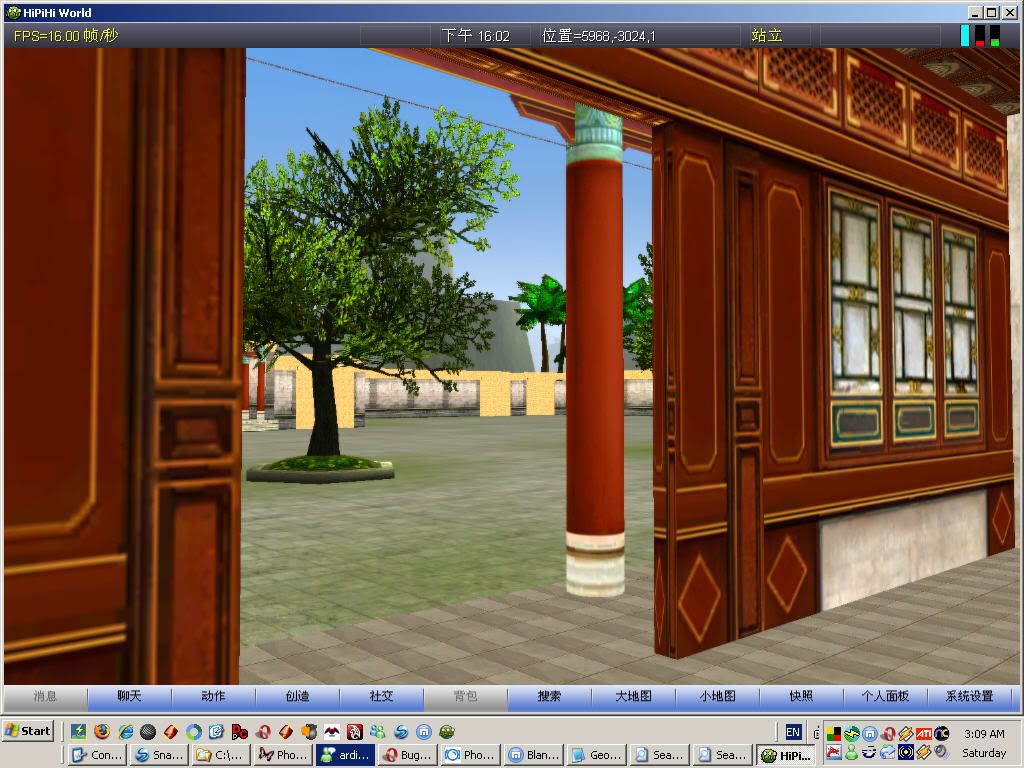
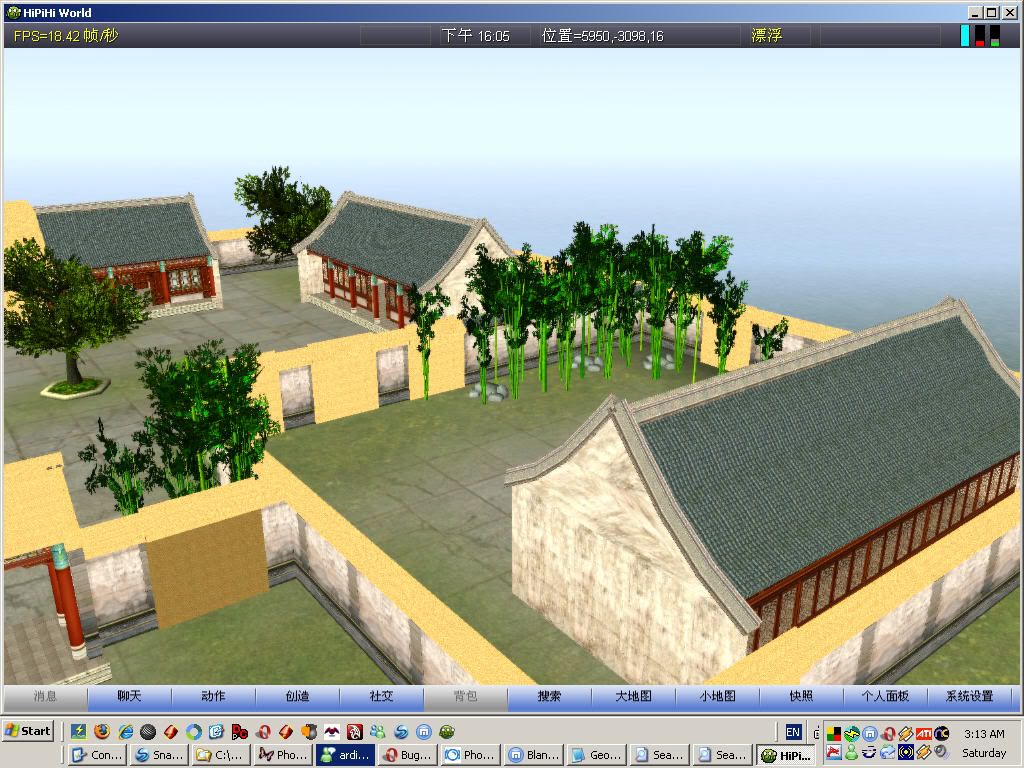
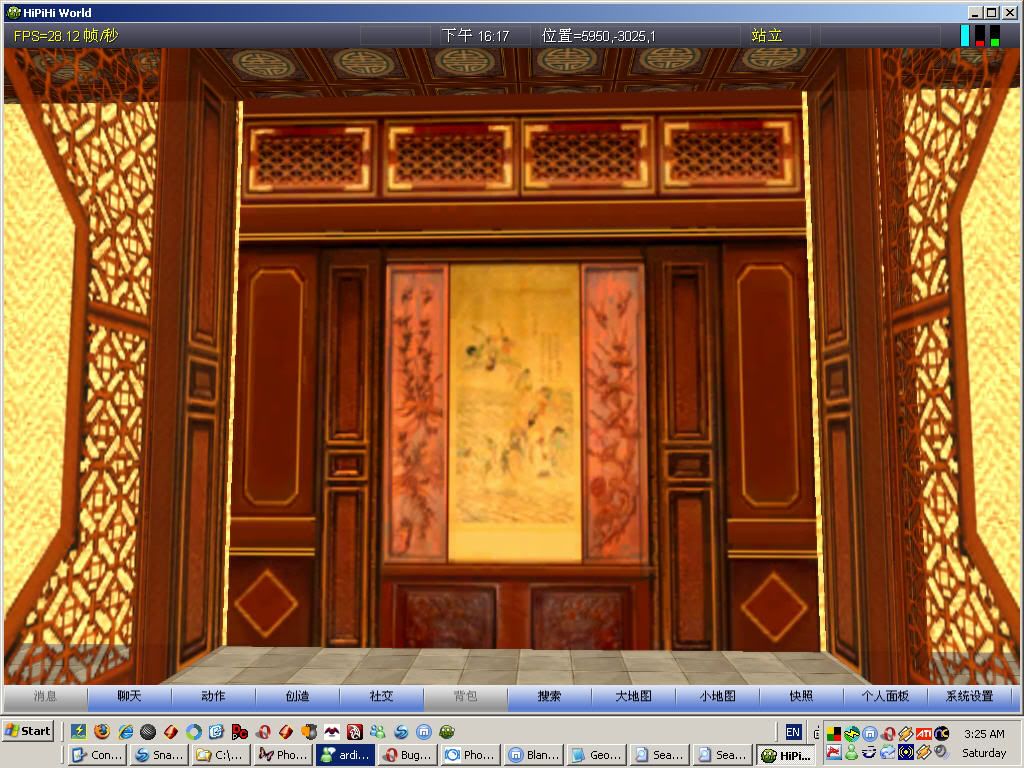
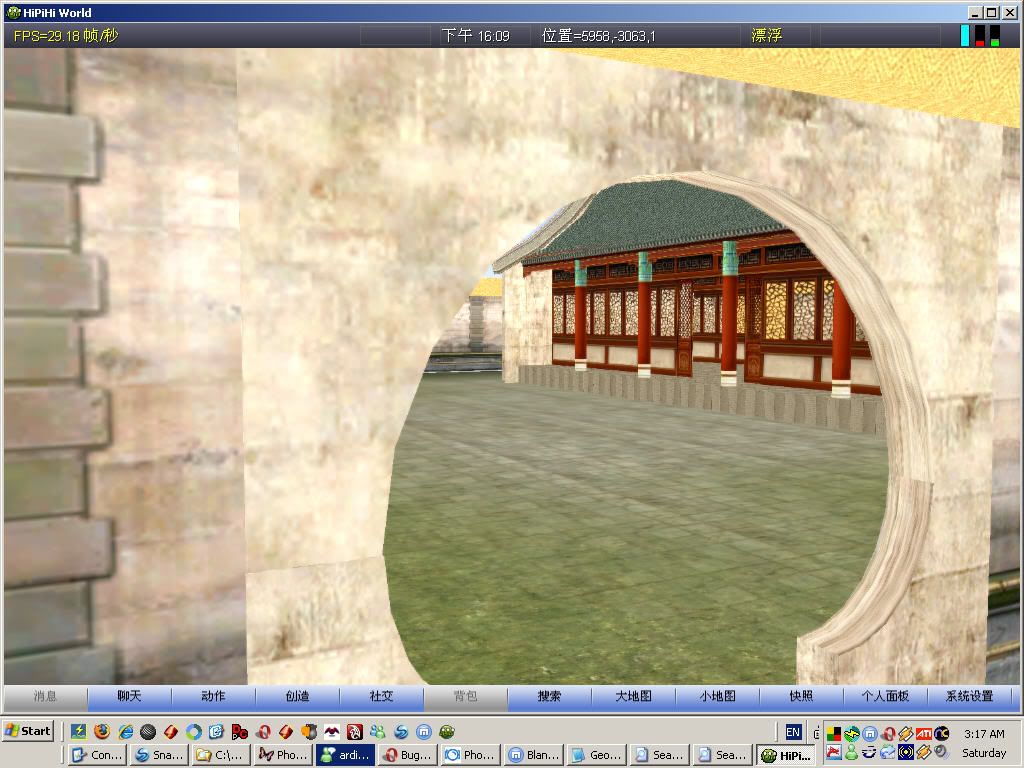
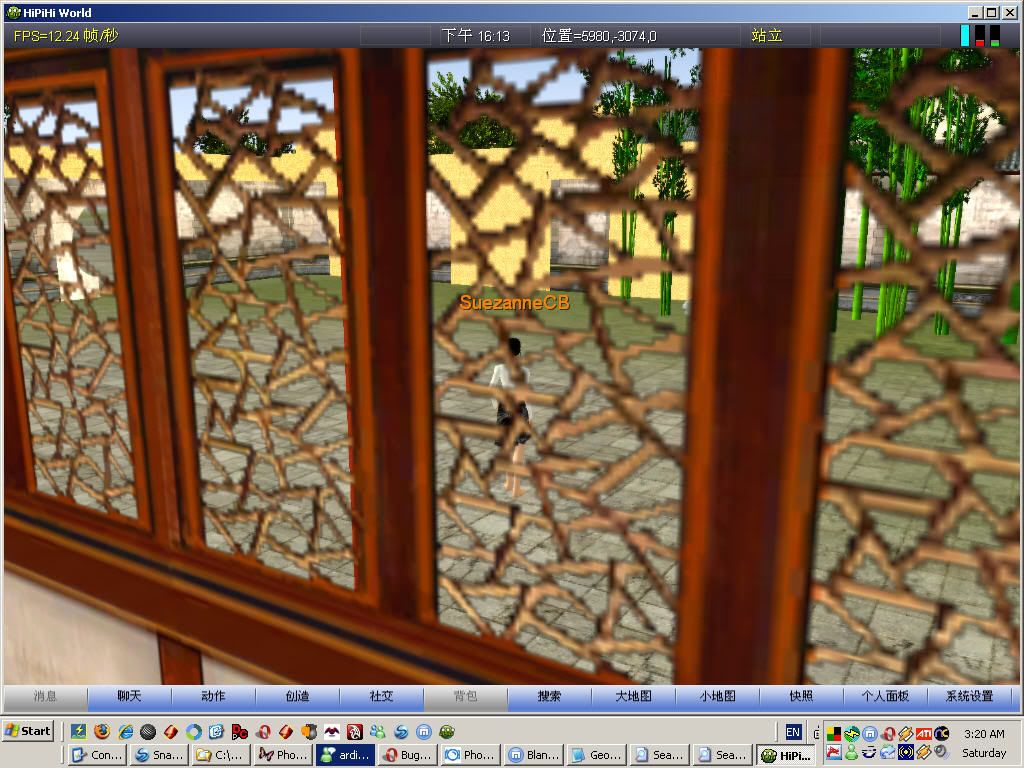
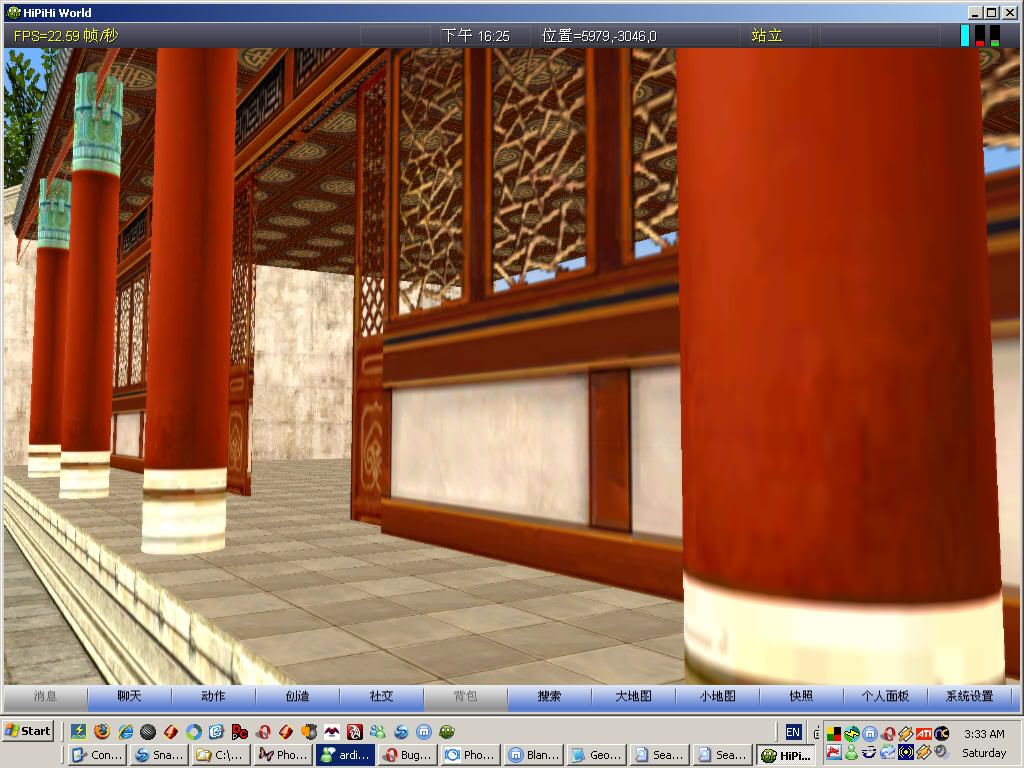
I stayed up all night this day, only going to bed after sunrise. In addition to my usual obsessive checking of RSS feeds on virtual world news and reading the Second Life forums and such, I took some pictures of a build in Hipihi, stored them on a Photobucket account, posted them on my Wordpress blog, and uploaded them into the Hipihi facebook group's photo storage area.
Taking the pictures in Hipihi was fun enough; taking screen-shots is one of the easiest ways to do something creative feeling in a virtual world. I used the snapshot function in Hipihi to take pictures, but this gives me pictures with program generated names rather than custom names, and to compound the naming annoyance, the program generated names are in Chinese, which is logical since I'm using a program with a Chinese interface, but makes the names even less useful than program generated names in English would be. Those who've used the Second Life snapshot-to-disk feature will be familiar with a similar naming aggravation; SL's snapshot feature let's you name on picture, then names the rest of the snapshot-to-disk shots you take with that name plus a number, so if you happen to run into Philip Linden and take a shot of yourself and Philip together and name it something like "Philip and me", then later go to your "Furry Gorean Mech Sex Fun Time" session and take a few more snapshots to disk, they will be named Philip and me 2, Philip and Me 3, etc. Or more commonly, one would get one picture taken in Ahern named Ahern, then the rest of the days shots taken all about misleadingly named Ahern 2, Ahern 3, etc. So to make the naming process easier, it is much nicer to use a screen capture program like Snagit or Irfanview.
Snagit is great for taking screenshots, but it doesn't quite do absolute best possible job for getting the pictures to a specific folder at Photobucket if you have a free Photobucket account, as I do. If you are content to have the pictures show up in your general, non-specific folder at Photobucket, and move them later, though, Snagit handles that quite easily. If that suits you ok, you don't even have to end up with a copy of the screenshot on your local hard drive, you can just press printscreen, take and edit the shot with Snagit, email it to your Photobucket account, then when you are ready you can go to Photobucket and rename the pictures and move them to the folder of your choice. That works fine, or if you have a paid Photobucket account you can use FTP to put pictures on Photobucket, and I would think that Snagit's FTP feature would let you FTP the pictures right into the proper subfolder at Photbucket right from the start. Irfanview is a free screen capture program that allows you do much the same thing. Irfanview also does a number of other nice image related things in a very impressive way. Everyone that wants to do image manipulation on a zero budget should check out the many features in Irfanview.
Right now I'm running on at great length because I am using Windows Live Writer to compose this blog post. Torley Linden recommended Windows Live Writer and that prompted me to try it. It is certainly far easier to use for posting a big long bunch of words than the editor built into Wordpress.com's free blog's editor. I've used Wordpress.com's blog post editor in Internet Explorer 6 and 7, in Firefox, in Opera, in Netscape, in Seamonkey, and in Maxthon 1 and 2, and I have to say, the Wordpress.com's blog editor is terrible. It stinks. The text doesn't display properly. Lines stop breaking for no reason. If you write a long post, the toolbar is scrolled off the top of the screen, requiring you to scroll back up and then back down. Taking the screenshots of the Hipihi Chinese architecture build and getting them on the internet was not a problem or burden, but creating the post that shows them on my Wordpress blog was quite miserable and tedious.
Thus, I am now going to explore using Windows Live Writer to post some pictures on my Blogger blog. So far I haven't posted any pictures but just writing this using the Wordpress.com's editor would have been torment, so already the process has been improved a great deal.
I used Photobucket's "check the selection boxes and then make it generate image display code" feature to get the code for what should be full sized images which link to my Photobucket site, then pasted the text for all the pictures above at one time into Windows Live Writer. Once the pictures displayed in WLW's editor, I right clicked one, which cause d the image properties editor to appear in the right WLW pane. I set the display size down from the original 1024 by 768 to 512; the WLW editor automatically scaled the other dimension down proportionally to 384, unlike the image property editor in Wordpress.com's editor. The WLW image editing window stayed right at hand as I went down the column of pictures and type 512 in over top of 1024. So far, it appears to be working just right.
Well that didn't work out, it did work in a technical sense, but scaling the picture up from the small thumbnail image doesn't produce an accptable image quality at all.
http://i198.photobucket.com/albums/aa245/SuezanneC-Baskerville/Hipihi/Hipihi-ornate-textures-in-a-Chinese.jpg
http://i198.photobucket.com/albums/aa245/SuezanneC-Baskerville/Hipihi/Hipihi-view-across-the-courtyard-fr.jpg
http://i198.photobucket.com/albums/aa245/SuezanneC-Baskerville/Hipihi/Hipihi-aerial-view-of-Chinese-archi.jpg
http://i198.photobucket.com/albums/aa245/SuezanneC-Baskerville/Hipihi/Hipihi-texturing-detail.jpg
http://i198.photobucket.com/albums/aa245/SuezanneC-Baskerville/Hipihi/Hipihi-view-through-a-curved-gate.jpg
http://i198.photobucket.com/albums/aa245/SuezanneC-Baskerville/Hipihi/Hipihi-view-through-the-windows.jpg
http://i198.photobucket.com/albums/aa245/SuezanneC-Baskerville/Hipihi/Hipihi-columns-in-perspective.jpg
Now that was easy, but it's not what I want. Hopefully though I take those urls and make them into half sized images which are links to the full size things easily enough.
Well, I think I can see a way to do what I want, but not as easily as I'd like. The half sized images above are big enough to look ok. The automatically generated thumbnails which are links work fine, they just aren't as big as I'd like, and WLW doesn't scale them up very well from 160 to 512, which is not too surprising. The easiest way to accomplish something similar to, not quite like what I want, using the tools at hand, would be to have a plain link, the ones above, with a half sized image right next to it. That wouldn't be hard to do for one image, or even the seven links above, but for displaying hundreds or thousands of images on a blog like this, the process really needs to produce perfect results, totally automatically, with the absolute minimum of effort, with all the very minimal effort being applied in one step.
I'm sure there is a way to do this, I just don't know what it is at the moment.
My public Photobucket account is at http://s198.photobucket.com/albums/aa245/SuezanneC-Baskerville/ . I have another account but it has a few pictures that I don't want others to see, and it has a whole lot of pictures that no one else would want to see. I've not found a sufficiently easy way to record all the pictures there, delete the private and bad ones, and set the folder to public. This would be so simple if Photobucket just had the ability to designate some folders in an account as public and some as private, but alas, it doesn't.
That's it for this post. Writing this whole post using WLW was less troublesome than writing the much shorter post on the Wordpress blog. If you want to be a part of virtual world history, try the Hipihi beta. If you want to post pictures of the Hipihi beta or write much in a Wordpress.com, don't use the built in editor, use Windows Live Write.


No comments:
Post a Comment